WordPress websites come with a generic login page that can be inconvenient or off-brand for some businesses. For those wanting to customize their login experience, creating a custom login page in WordPress is a great way to add some personality to your website and improve the user experience for your visitors.
In this post, we’ll delve into the benefits of building a custom login page and walk you through the steps of creating one using either plugins or code. We’ll also discuss the option of working with a Codeable expert to create a custom login page for you.
Whether you’re a solopreneur or business owner looking to take your website to the next level by making a custom WordPress site or a tech-savvy individual interested in improving your WordPress plugin development skills, this guide is for you.
Why should you create a custom WordPress login page?
There are many reasons why you might want to consider building a custom WordPress login page for your website. Here are just a few:
- Branding: A custom login page is a great way to make a strong first impression on your visitors and add some personality to your website. Whether you’re a freelancer creating a website for a client or a business looking to brand the login process for your employees and customers, a custom login page can help you stand out from the crowd.
- Differentiation: If you regularly log into multiple WordPress websites, a custom login page can help you differentiate between them and make it easier to keep track of which website you’re logged into.
- Additional Information: The default WordPress login page only includes a few basic fields, but a custom login page can allow you to collect additional information from your users. This could be for security purposes, or for any other reason that you might need to gather more data from your visitors.
- Customized Security Measures: With a custom login page, you can also customize the security measures in place to protect your website and user data. For example, you can add additional authentication methods like two-factor authentication or CAPTCHA to prevent bots from accessing your site.
- Improved User Experience: A custom login page can also improve the user experience for your visitors. By adding custom graphics and branding elements, you can make the login process more visually appealing and easier to use. You can also customize the error messages that users see when they enter incorrect login information for easier logins.
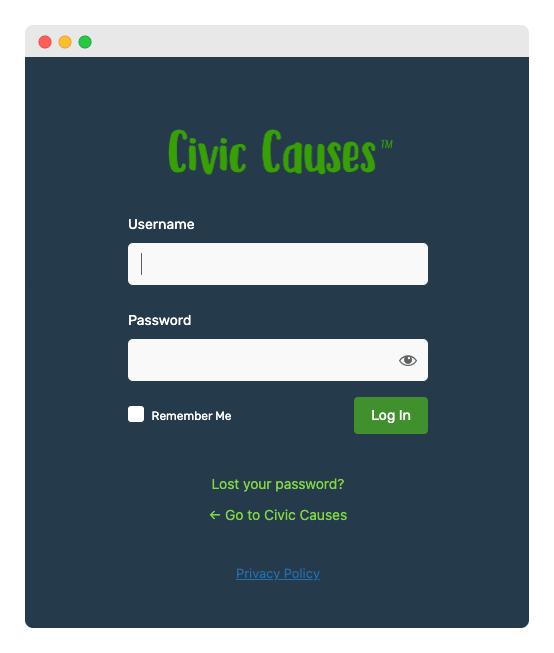
Building a custom login page is a great way to add some personality to your WordPress website and improve the user experience for your visitors. Regardless of your purpose for creating one, a custom login page can help you look more professional and brand the login experience.
Expert tips for creating a custom WordPress login page
Designing a custom WordPress login page can be a fun and rewarding project, but it’s important to keep a few key considerations in mind to ensure a professional and user-friendly result. Here are some expert tips to help you create a custom CSS login page that stands out:
- Use Relevant Images and Graphics: Images and graphics are an important part of any custom wordpress website design, and they can help convey your brand message visually. When creating a custom login page, be sure to use relevant images and graphics that reflect your brand and add value to your design.
- Keep it Simple: Don’t overcrowd your design with too many elements, as this can make it difficult for users who aren’t familiar with WordPress or who aren’t tech-savvy. Instead, focus on creating a clean and simple design that’s easy to navigate.
- Align Elements Properly: Make sure all elements on your login page are aligned properly and that there are no gaps between them. This will give your design a professional look and make it easier for users to find what they need.
- Use Relevant Colors: Choose colors that match your brand identity rather than going for random colors just because they look nice. This will help give your design a cohesive look and make it feel more professional.
- Make Text Readable: Finally, be sure to make all text on your login page readable and ensure that it doesn’t overlap with other elements on the page. This is especially important for password fields, as overlapped text could cause problems for users when they try to log in.
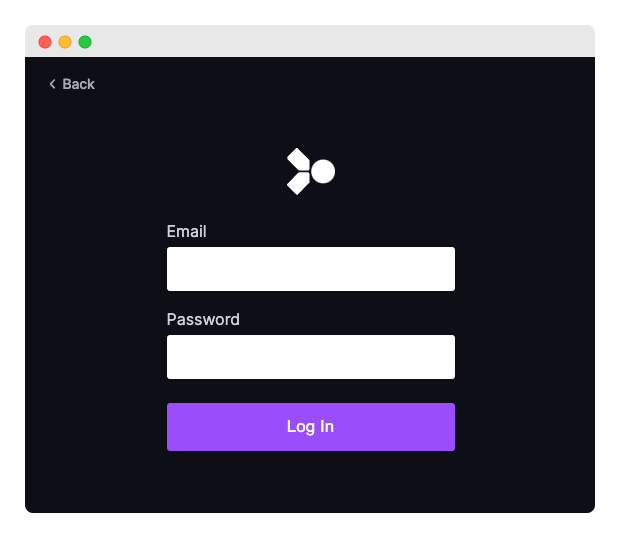
By following these expert tips, you can create a custom WordPress login page that’s both visually appealing and user-friendly.
How to create a custom login page
Creating a custom login page in WordPress is a relatively simple process, and you have the option of using a plugin or coding it yourself. There are plugins for user registration, custom login pages, and more to help you on your way. Here’s a step-by-step tutorial to help you get started:
Using a custom WordPress login plugin
- 1. Choose a plugin: There are a number of plugins available that can help you customize your login experience on WordPress. Some popular options include LoginPress, Custom Login, and Custom Login Page Customizer. For this tutorial, we’ll use LoginPress.
- 2. Install LoginPress: Go to your WordPress dashboard > Plugins > Add New.
- 3. Choose your plugin of choice: Once you’ve selected a plugin, click “Install Now” and “Activate” to add it to your WordPress website.
4. Access the plugin: After the plugin has been installed, you’ll be able to access it through the Settings menu in your admin dashboard.
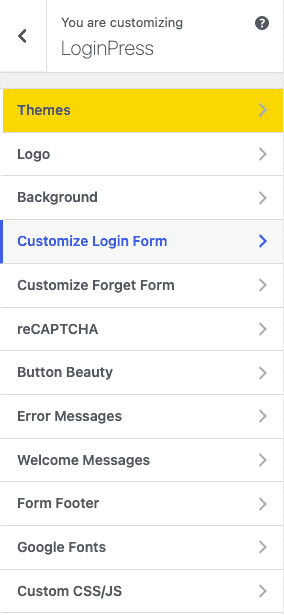
- 5. Customize the login page: Use the options provided by the plugin to customize your login page, including replacing the WordPress logo with your own, changing the background image, and customizing the login form. You can also use the plugin to replace error messages and customize other aspects of the login process.
You can see that LoginPress will include a WordPress site login template that you can modify. By replacing the WordPress logo, removing the background image, changing the background color, and making other small changes, your login page will transform completely.
Here’s what the login screen template page looked like out of the box once LoginPress was activated:
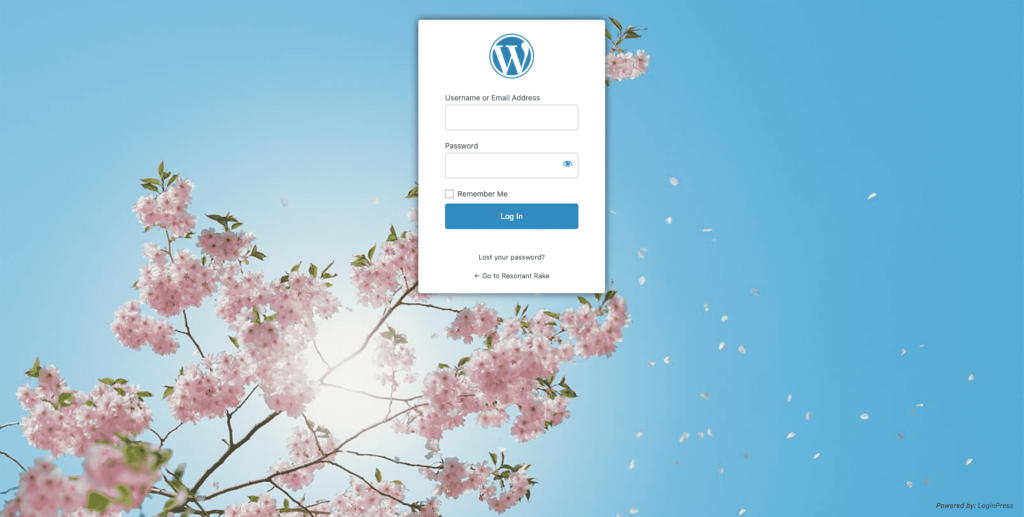
And here’s what it looked like after a few small changes to the background, padding, colors, and logo:
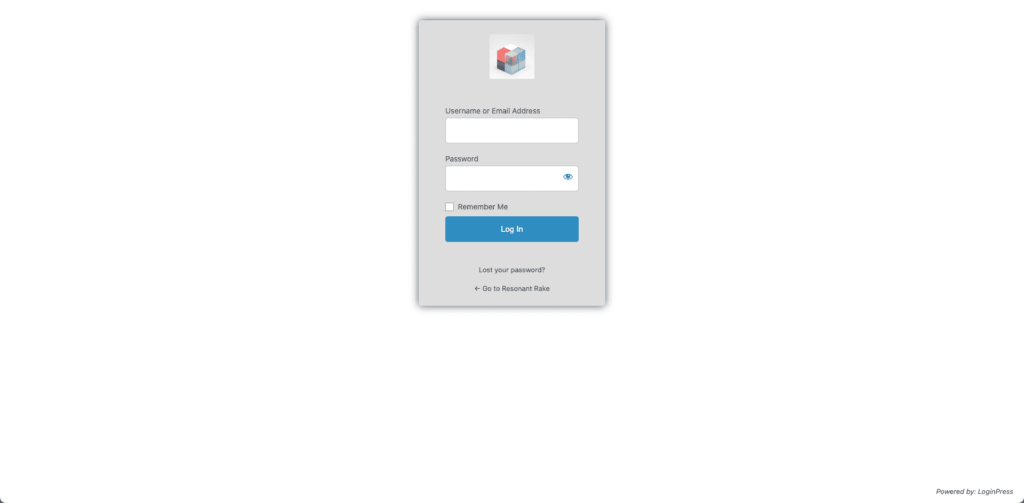
Keep in mind that while using a plugin can be a quick and easy way for beginners to create a custom login page, it may have limitations and may not provide as much customization as coding your own page. Additionally, the free version of the plugin will always keep the “Powered by LoginPress” message at the bottom right of your login page.
Coding your own custom WordPress login page
Coding your own custom login page lets you do just about anything you want. Let’s look at a couple of examples.
Customizing the logo on the WordPress login page
Here, we’ll show you how to add a custom logo to the WordPress login page by adding code to the functions.php file. These are the steps:
- Upload the Logo to Your Website: Get your logo in either PNG or JPG and upload it to your WordPress website. You can do this by going to the Media library in your dashboard and clicking “Add New.”
- Get the URL of the Logo: Once the logo has been uploaded, you’ll need to get the URL of the image file. You can do this by clicking on the image in the Media library and copying the URL from the address bar in your web browser.
- Edit the functions.php File: Next, you’ll need to edit the functions.php file in your theme. You can do this by going to the Appearance menu in your dashboard and clicking “Editor.”
- Add the Code Snippets: In the functions.php file, add the following code:
function custom_login_logo() {
echo ‘<style type=”text/css”>
h1 a {
background-image: url(YOUR_LOGO_URL_HERE) !important;
}
</style>’;
}
add_action(‘login_head’, ‘custom_login_logo’);
- Replace the URL: In the code, replace “YOUR_LOGO_URL_HERE” with the URL of your custom logo.
- Save the File: After you’ve added the code, be sure to save the functions.php file.
Note: it’s always a good idea to test the code on a staging or development environment before implementing it on a live website to catch any potential issues before they affect your users. Codeable’s recommended WordPress hosts, Kinsta and WP Engine, both offer staging.
Removing the WordPress language switcher from the login page
WordPress 5.9 introduced a language switcher for the login page. This changes the language for logged-in users (only in the backend).
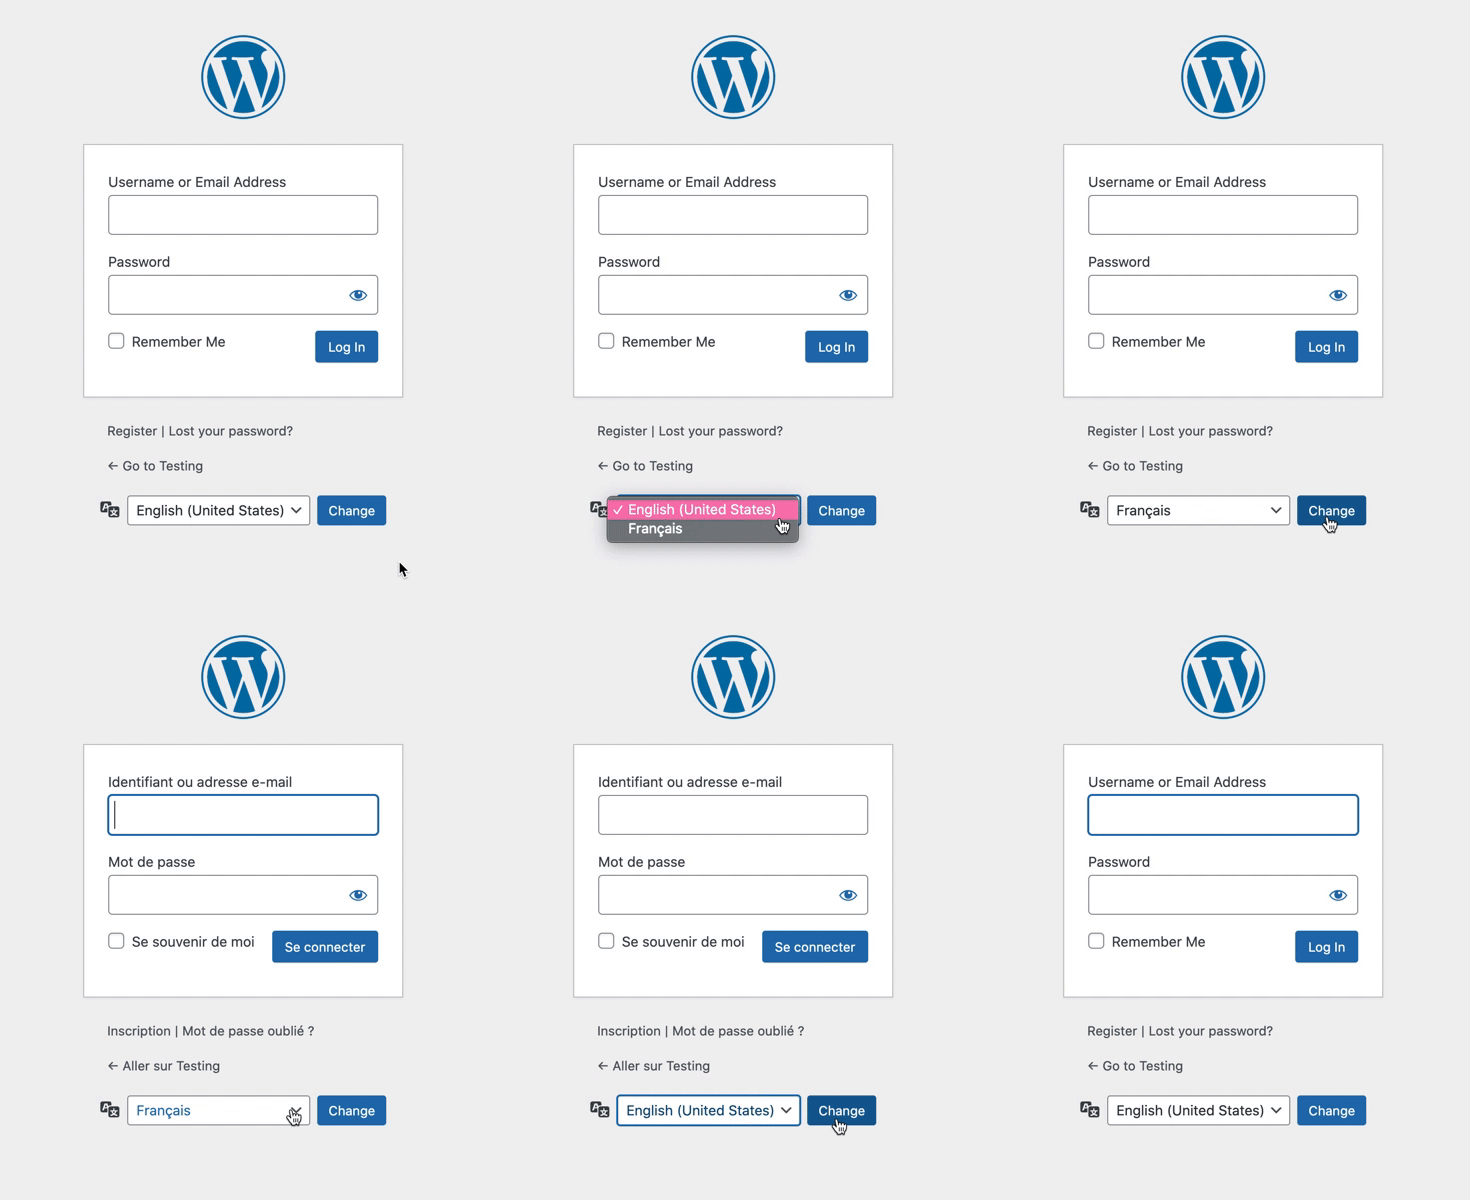
You can disable this with the following code to your functions.php file:
add_filter( ‘login_display_language_dropdown’, ‘__return_false’ );
Again, using staging is best practice here to ensure your custom login page is created safely.
There are other more advanced options you may want to consider, like redirecting the generic wp-login page to a custom page and creating custom login attempts messages. For this, you’ll either want to go through a plugin or ask a developer to create those for you to avoid any issues with the code on your page.
Hiring an expert to build your custom Login page
If you’ve followed along with this guide, you should now have a good understanding of how to build a custom login page in WordPress. However, creating a custom login page can be a time-consuming process, especially if you’re not familiar with coding or plugin development.
That’s where Codeable comes in. Codeable is a platform that connects you with WordPress experts who can help you build any kind of website, including eCommerce stores, membership sites, and custom login pages. With Codeable, you can save time and effort finding the perfect plugin or attempting to code the login page yourself, and you can be confident that you’re working with an expert who is qualified and experienced in building custom WordPress websites.
Codeable offers affordable prices and a streamlined process that makes it easy to get started. So if you want to create a custom login page for your WordPress website, consider hiring an expert from Codeable. With their expertise and experience, you can save time and effort and be confident that you’re getting a professional and user-friendly result. Find a Codeable Expert.
Disclaimer: Codeable is not affiliated with any of the plugin recommendations detailed in the post.
 Dream It
