At the heart of any WordPress website is its theme. WordPress themes are not just about aesthetics; they also set the basis for your website’s functionality and user experience. A well-crafted WordPress theme can take your website from common to unique and from functional to exceptionally user-friendly.
A website owner who wants to offer a truly standout user experience may find that they want to customize their theme, and this can be the case whether they are using a free or premium theme.
A custom WordPress theme allows you to reflect your brand’s identity, preferences, and needs. If you’re unsure how to begin with this, don’t worry. We’ll walk you through everything you need to know about creating a custom WordPress theme.
Unlocking Your Site’s Full Potential with WordPress Theme Customization
Building a custom theme might sound daunting, but as the process has become more streamlined and straightforward, it’s undoubtedly worth the effort. It can seem like crafting a bespoke suit – cut and stitched to fit your brand’s identity, preferences, and needs perfectly.
Customizing WordPress themes is about more than changing fonts and background colors – it’s about tailoring your website’s functionality. With a wide array of editing options at your disposal, you can modify more regarding your website performance. It’s like perfectly fitting different pieces of a puzzle: once you get it right, the whole picture will come to life.
The advent of WordPress tools and plugins has simplified the customization process. Today’s WordPress plugins allow you to extend and enhance your theme with simple drag-and-drop functionality, enabling more people to bring their visions to life on their websites.
However, if you want to build a truly custom theme from the ground up, then you will either need to have direct coding knowledge or work with WooCommerce experts. With our help at Codeable, the process of customization becomes even more simplified. Our team of experts crafts tailored solutions, extending the impact of a custom theme on your WordPress site. We don’t only provide a unique look but also enhance your site’s functionality to ensure an optimal user experience.
How to Customize Your WordPress Theme: Different Options
There is no one-size-fits-all answer to the question: How do I create a custom WordPress theme? That’s because there are multiple options available to you, and the choice will pretty much depend on your preference. Many options don’t require you to write a single line of code, whereas others will only appeal to more tech-savvy users.
That said, first things first, we’ll look at some options that don’t require any coding:
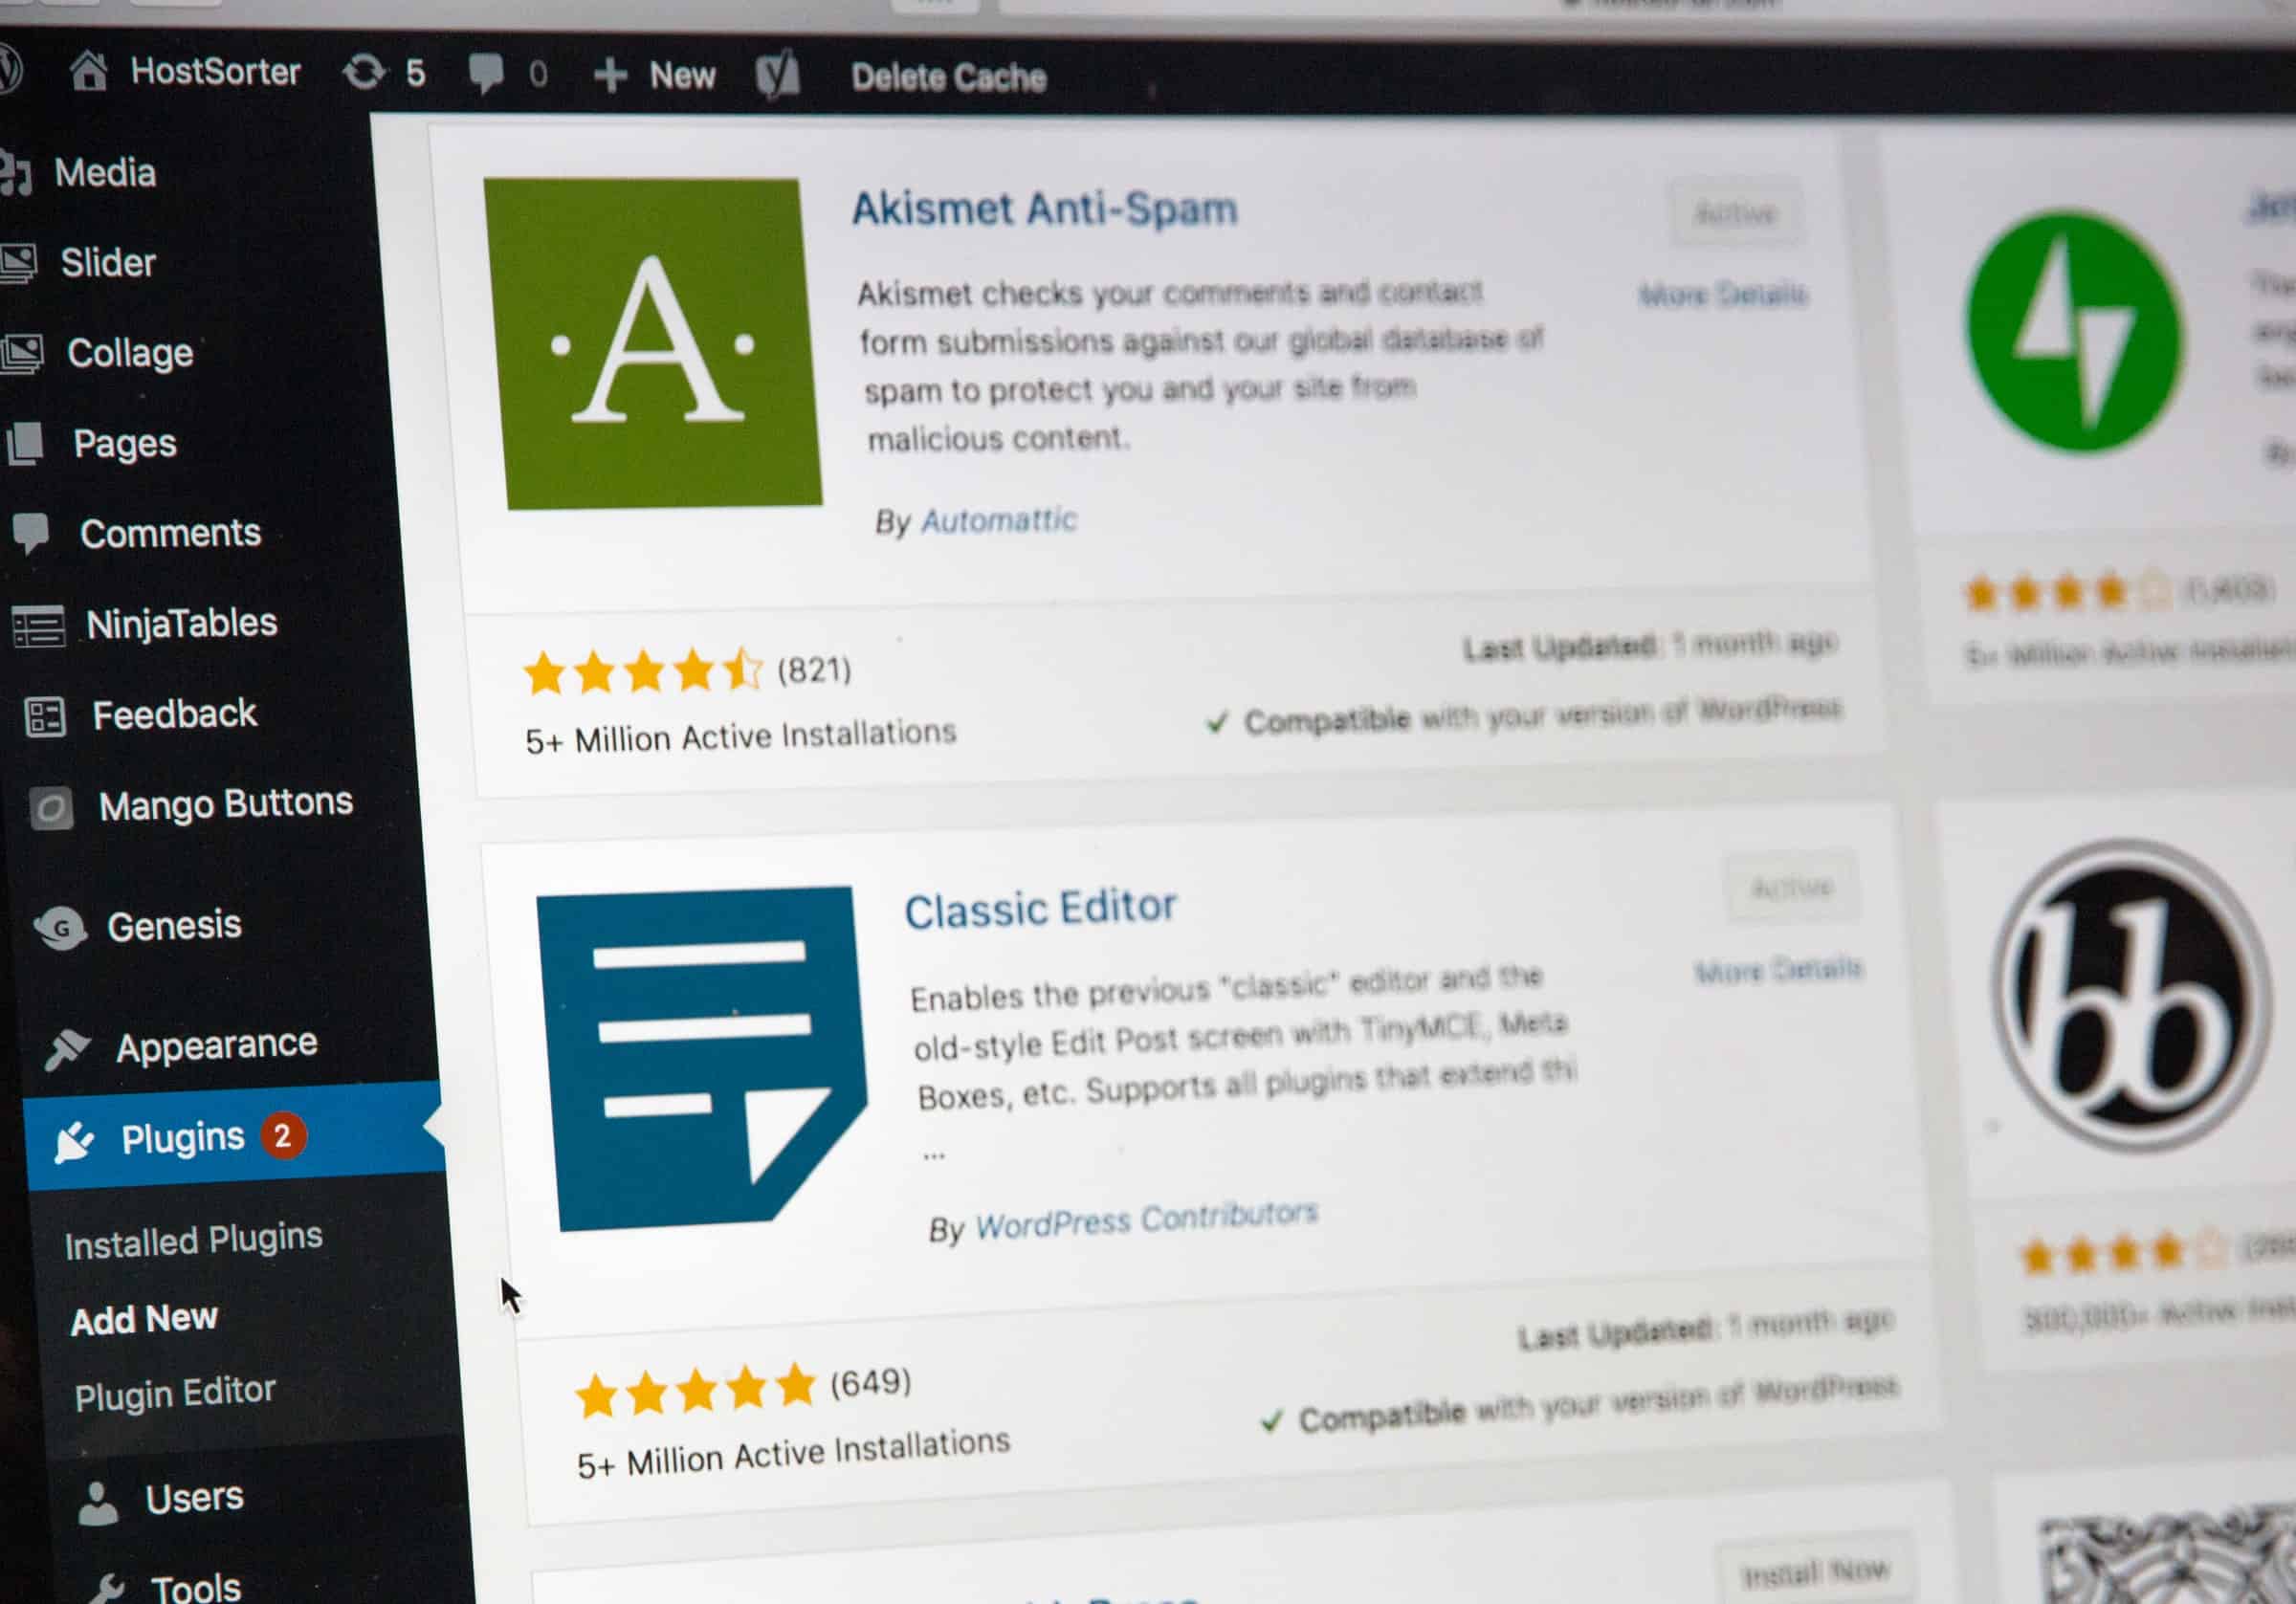
Customize Your WordPress Website with Plugins
You can extend your WordPress site’s functionality by installing the right WordPress plugin(s). Many such plugins can be installed with just a click. There are tons to choose from. In fact, in 2022, it’s said that the WordPress directory will list over 59,000 plugins.
Here are just a few examples of some of the most popular plugins and what they can do for your website:
- Yoast SEO: This provides an SEO (search engine optimization) wizard that helps you optimize your site for search engines.
- WooCommerce: A free WordPress eCommerce plugin that enables you to create a fully functional online store, including a checkout page and cart, product pages, inventory management functionality, and much, much more.
- WP Forms: This enables you to build forms and is helpful for online surveys and lead generation.
- MonsterInsights: This is an analytics plugin that connects your site with Google Analytics, so you can review important data such as user engagement, eCommerce tracking, where your traffic comes from, etc.
- OptinMonster: A lead generation plugin that allows you to create various engaging popups and forms to collect email addresses and redirect people back to your store (including abandoned cart campaigns)
Things to Keep In Mind When Installing WordPress Plugins
Plugins are a great way to add new functionality to your site, introduce fantastic visual elements, and generally offer a little more pizzazz. That said, while any beginner can install plugins without diving into the code, you should consider a few of these best practices:
- Ensure the plugin is updated regularly and works with your current version of WordPress. WordPress often updates, and these changes to the system can mess with how some of your plugins work. As such, you need to ensure all plugins work with new WordPress versions.
- Check the reviews. The plugin directory is full of plugins from both established and younger third-party companies. In short, not all plugins are made alike, and some won’t be as intuitive or functional as others. So, be sure to check the reviews to learn of any difficulties other users may have experienced with the plugin.
- Be careful which and how many plugins you install. When there’s so much choice, it’s tempting to go crazy and grab plugins for every little feature. However, keep in mind that plugins can slow down your WordPress website, making your site less user-friendly. Consequently, this could affect your search engine ranking. So, think carefully about which plugins you actually need and which you can do without. Sometimes it’s worth paying a little extra to stick with fewer plugins that do more. The speed of a plugin depends mainly on its quality, but also remember that the more you install, the more you’ll have to maintain and keep an eye on.
Visit the “Settings” Tab in Your WordPress Dashboard
The Settings section of your WordPress site has a few items worth your attention for customization.
For instance:
The Writing settings can determine, for example, how many blog posts or testimonials you show per page or whether you let users scroll infinitely.
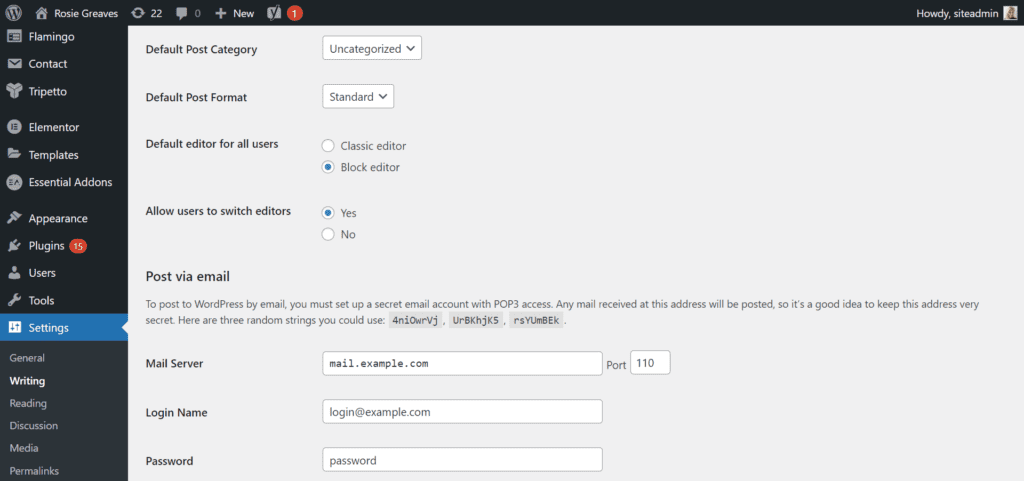
With the Reading settings, you can customize:
- What email text new subscribers get
- Whether you show related content after a post
- Whether to include excerpts or full text in your post feed.

You can also change your site’s URL permalinks in the Settings, which is essential for SEO and making your website’s address look cleaner.
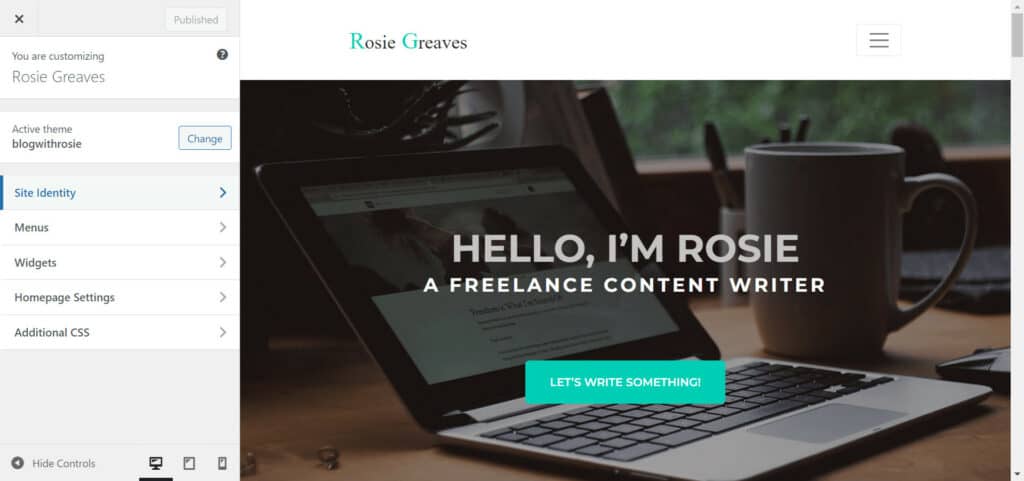
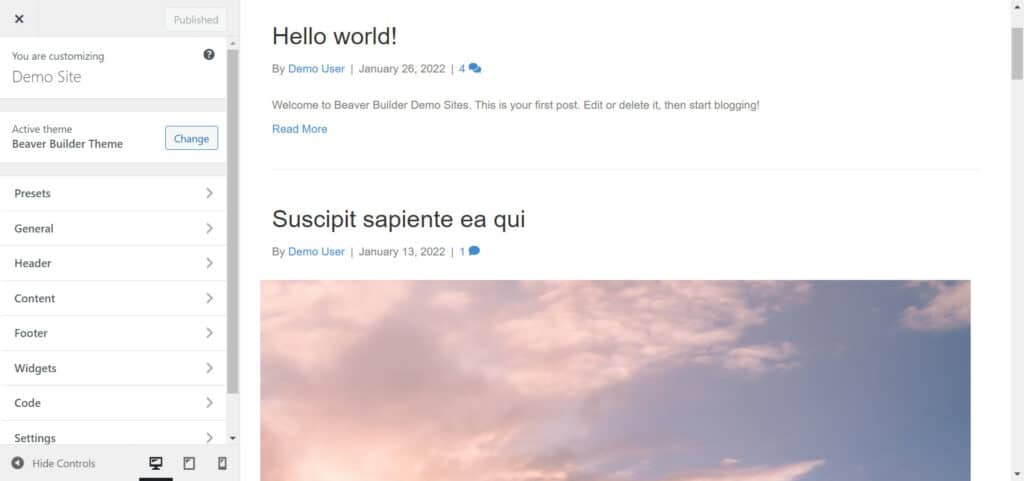
Use Your Theme’s Built-in Customization Options
Many templates come with built-in customization options, which you can access via the ‘Appearance’ tab found on the WordPress dashboard sidebar.
However, the theme options available will depend on your particular theme. At this point, it’s worth noting that premium themes sometimes offer more customizability.
First of all, you can change your theme from this tab at any time. Just browse the WordPress theme directory and choose from the free and paid themes that catch your attention.
Then, by hitting “Customize,” you can update your theme’s settings, including:
- Your site’s logo and favicon
- The template’s global color scheme and background color (you might also be able to choose a background pattern).
- The headings and paragraph fonts
- A custom header image
- Menu settings, such as where to display your website’s navigation and social media icons
- Where to add widgets
If these options don’t work for you or don’t give you as much design freedom as you hoped, you might need to use more technical methods to create your custom WordPress theme.
Use a Page Builder to Create a Custom WordPress Theme
WordPress’s most common editor isn’t a front-end WYSIWYG page builder. Unfortunately, this means you can’t simply edit your website when you see it before you. Instead, you have to use the sidebar to navigate every change and find the customization section first.
This is a lot less intuitive than most modern website builders and is why WordPress page builders are becoming increasingly popular. After all, a page builder functions much more like other website builder platforms. (Think Wix, Squarespace, Weebly) as they come with drag-and-drop interfaces that enable you to edit the appearance of your WordPress website without any code.
There are many WordPress page builders in the plugin directory, and all come with their advantages and disadvantages. So, when considering a page builder for yourself, be sure to examine them for their ease of use, flexibility, and the sorts of designs you can achieve. With that in mind, below we’ll introduce you to some of the most popular page builders on the market:
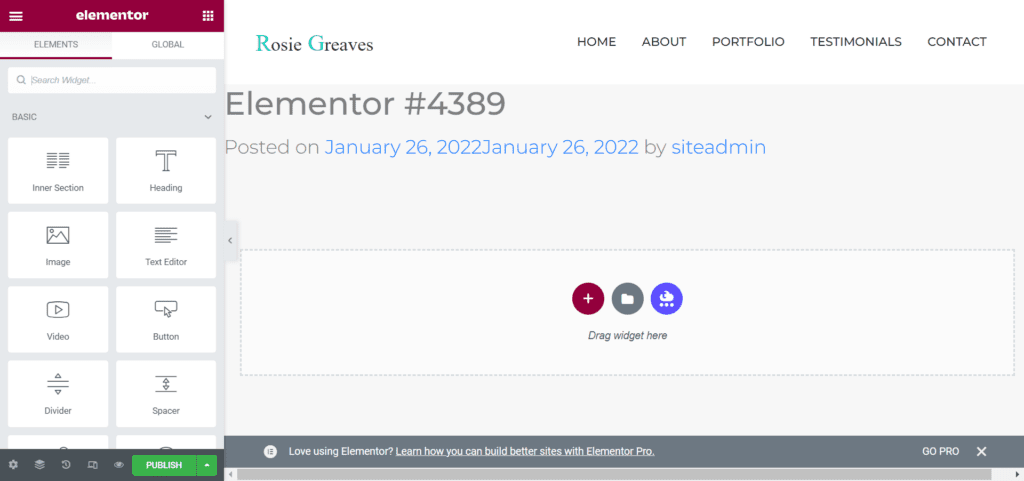
Elementor
Elementor comes with drag-and-drop functionality, where you can customize each section and column freely. The builder also comes with over 90 built-in widgets, making extending your website’s functionality much easier. These include forms, image galleries and carousels, counters and countdowns, menus and table of contents, and much more.
Elementor allows you to freely customize the positioning of any element and easily update global colors and typography to ensure a more consistent web design.
Lastly, if you’re looking to stretch your creative legs a little, you can also use their blank “Hello” Theme to build your website entirely from scratch.
Divi
Divi performs similarly to Elementor as it comes with a drag-and-drop interface. It boasts 46 content modules to easily drag into your layout and customize. You can also create new custom pages within minutes and save your most popular layouts to reuse.
Divi also allows you to adjust your website and media’s visuals live, including opacity, blur, brightness, contrast, and more. Another neat feature is the shape dividers you can use for exciting transitions between your content.
Beaver Builder
Beaver Builder is another intuitive drag-and-drop page builder. This solution comes with an onboarding tour to help get you started. Like the examples named so far, you can also edit live and review those changes immediately. Just click on an element to edit its properties.
You can also add modules for extra functionality and visual appeal. For example, sliders, carousels, backgrounds, content blocks, buttons, and more. Beaver Builder also comes with 30 landing page templates.
Should You Use a Page Builder to Customize Your WordPress Website?
Page Builders often sound like the most attractive and intuitive way to handle WordPress customization. But like with any method, it comes with its own set of advantages and disadvantages:
The Pros:
- Page builders are user-friendly; they provide a more intuitive way to customize your website into something unique.
- You don’t need any coding know-how.
- Most page builders come with page templates and layouts to help get you started.
- Page builders have all the elements you need in one interface, which means no more clicking around between sections.
- With several page builders on the market, many of which include free plans, you can pick which suits you best.
The Cons:
- Bulky page builders can slow your website down, which might affect your SEO and user experience.
- While some page builders have free options, many lock their most essential features behind paywalls. This means page builders are a considerable extra cost, usually ranging between $30 to $150.
- You rely on a third party and the tool’s ability to perform well. Many Elementor users, for example, have complained about glitches in the past. For example, fonts or images might not load, or specific widget integrations might be less functional than intended. So do your research carefully and maintain your site regularly to ensure your page builder doesn’t impact the user experience.
Edit Your Code Directly to Create a Custom WordPress Theme
Earlier, we discussed how to edit the overarching settings of your theme from the Appearance tab. From here, you can also access the Theme editor and edit your theme’s code. However, you’ll need a working knowledge of HTML and CSS to do this. In addition, knowledge of PHP files and Javascript is also often helpful.
Before You Start
We don’t recommend ever editing code directly. Mistakes can happen anytime, and if you edit your theme’s main code, you might translate any errors you make into your live site. This can lead to a poor user experience or, worse, crash your entire website until you find the error and fix it.
Instead, create a child theme and make your edits there.
A WordPress child theme inherits all the functionality, styles, and features of your existing WordPress parent theme. You can then customize the child theme without affecting the parent, thereby removing any risk that your current live theme will be affected.
You can create a child theme by opening the themes folder in your WordPress installation files. Next, create a new folder for your child’s theme and name it whatever you want. In this folder, you’ll create a style sheet for your new theme called style.css and a file to enqueue the parent’s style sheet.
You can learn more about this in the WordPress theme guide.
We also recommend testing your changed theme on a staging version of your website. This is like a test version of your site that simulates your website without being public. While you work on the staged site, your existing site will continue to receive traffic and remain entirely unaffected.
Many web hosts offer web staging features, including Siteground, Kinsta, and Bluehost. There’s also a plugin called WP Staging that also provides you with a staging environment to work with.
Lastly, whenever you make any significant changes to your site, it’s always a good idea to create a backup before getting started.
Edit the Code Using the Theme Editor
Once you’ve ensured you can work on the code safely without affecting your public site, you can start editing the code via the Theme editor.
For this, you’ll need to navigate the files on the right to find the files you want to edit.
Then, edit the CSS stylesheet to fully customize the appearance of page elements. Or, navigate to header.php or footer.php to change the functionality and layout of the header and footer element.
Or, suppose you want to customize the look of some of your theme elements. In that case, navigate to the Appearance Tab and choose “Additional CSS .”This will allow you to edit your theme’s CSS on the left-hand side and view your changes in real time.
Whenever you make changes to your WordPress theme’s code, ensure you adhere to WordPress’s coding standards. This defines the structure and syntax to use and naming conventions for file names.
Create a Custom WordPress Theme Using HTML5 and CSS3
Another route you can take in WordPress theme customization is building your theme from scratch using HTML5 and CSS3. This method allows for maximum customization and control over your theme’s visual design and structure. However, if you’re not confident in these languages, then we recommend working with a developer who is.
HTML5 is the latest version of the HTML web markup language. It delivers consistency in content display across different devices — be it a computer, tablet, or mobile phone. This means your custom WordPress theme can cater to a wider audience regardless of the device they use.
On the other hand, CSS3 sports the “Media Queries” feature that sets specific rules controlling how your site behaves on various screen sizes. Meaning, it ensures your WordPress theme is responsive and adaptive, offering seamless navigation for users on either small mobile screens or large desktop displays.
By focusing on these specific tools and techniques, you navigate confusion and follow a reliable path in your WordPress theme customization journey. Although these techniques demand a learning curve, the time invested can pay dividends in giving you complete control and customization freedom.
What to Do After Creating a Custom WordPress Theme
When you’re done customizing your WordPress theme, it’s vital to perform a few final steps for good results:
- Review your changes to ensure everything looks good on your site (both desktop and mobile versions).
- Only make incremental changes to your theme and review that everything’s working and looking right between those changes. This makes it easier to troubleshoot issues than making multiple changes simultaneously.
- Test for code or plugin conflicts
- Keep a log of your customizations so you can look back on what you changed in the future if an issue arises.
When Should You Customize Your Own WordPress Theme?
Now that we’ve discussed how to customize your theme, we’d like to provide some guidance on when it’s a good idea to do so. Making simple changes by using your theme’s own customization options and editing the settings of your WordPress site is easy. Moreover, they can be done on your own without risking your site’s performance.
However, suppose you have a specific vision of your final website and want to make significant changes to your custom WordPress theme. In that case, consider your own capabilities. Remember, installing plugins, working with a page builder, or editing your site’s code can all potentially lead to conflicts, glitches, and poor site performance if you don’t know what you’re doing.
If you plan to majorly overhaul your theme to create a truly unique website or an entirely custom theme from scratch, we recommend leaving the job to the experts.
Codeable can connect you with WordPress developers who specialize in creating custom WordPress themes. Our platform links you to professionals with plenty of experience with projects like yours. Each expert is vetted, so you can rest assured you’ll receive a professional service.
With a secure escrow system for payment, your money is safe until you’re satisfied your project is hitting its milestones. In addition, fully transparent fees and a 28-day warranty further protect you from losing money on a failed project. So, submit your assignment on Codeable for free today to get no-obligation quotes from a small selection of WordPress theme development experts, and start customizing the WordPress website of your dreams!
 Dream It

