How many times have you heard the phrase “a picture is worth a thousand words” in your life? Let me guess: a couple of dozen times, at least. The usage of this sentence is so widespread that when people hear it, they don’t pay attention to what these words communicate. Since they’ve already been told over and over again, it seems their meaning gets diluted over time.
Besides the overly-stated cliché, what’s important here to understand is the importance of visual elements when combined with specific text in communicating with others, especially when you’re working with developers and designers.
How to empower your project brief
Crafting a proper, complete, and informative project brief needs to be your top-priority activity when looking for outsourced WordPress development. I know somebody might think that creating a project brief shouldn’t take too much time since it’s not “actual development” and things aren’t moving forward.
But let me tell you this: more than 45% of the projects posted here at Codeable are skipped because none of our 190+ WordPress experts wants to take them. The main reason being: project briefs are poorly executed, thus developers keep themselves away from those pain-in-the-ass type of jobs.
A project brief isn’t just an element within the outsourced development experience; it’s the first step towards your desired goals. And you don’t want to forget this: briefs are your only way to attract the best WordPress devs and make them eager to work on your project.
So, how can you make it crystal clear to your outsourced WordPress developer? You add visual resources!
Whether you lack technical knowledge, English isn’t your strong suite, or if you’re experiencing any difficulties explaining what you’d want, visual elements can clear the air on any misunderstandings with your developer. “I want it like this” followed by an image, it’s way more effective than “I need my website to feature a sidebar on the blog homepage with some colored elements and with cool animations”, don’t you think?
So let’s see how to add 3 types of visuals resources to enhance your WordPress brief.
1. Add screenshots (Mac, Windows, and Chrome)
When your goal is to communicate to a developer what you have in mind, the best way is taking screenshots (photos of your screen) from websites, apps, or anything on your screen and send them to your him/her. This is a convenient, cheap and quick solution that you can immediately start to use. Here’s how.
How to take screenshots on Mac

- Take a screenshot of your whole screen: Press Command + Shift + 3.
Take a screenshot of part of your screen: Press Command + Shift + 4 and then drag the pointer over the desired area. Note: while dragging, hold the Shift or Option key or Spacebar to change the way the selection moves.
You can find more info here.
How to take screenshots on Windows
Take a screenshot and save it as a file: Press the Windows logo key + PrtScn. If you’re using a tablet, press the Windows logo button + the volume down button.
The file will be saved in the Screenshots folder (in your Pictures folder).
There’s also another quick option for Windows users: you might use the Snipping Tool in Windows (path: Start > All Programs > Accessories > Snipping Tool). See here for more information.
How to take screenshots on Chrome

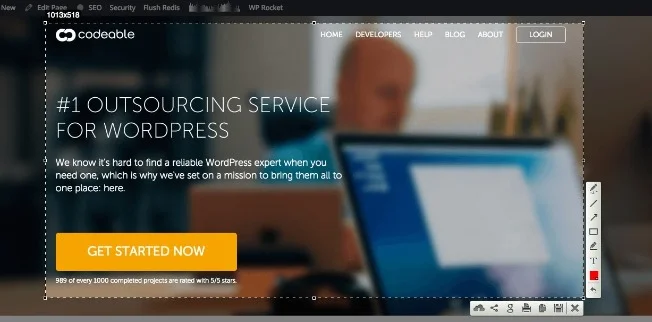
There’s no built-in feature in Chrome that allows you to snap a photo of your screen, so you need to rely on an extension like Lightshot.
Once it’s added to Chrome, click on its icon and drag your mouse to select your desired area. You’ll be then able to download the file, share it, add some annotations and search for similar images directly within the extension.
How to take full page screen captures (Mac, Windows and Chrome)
When it’s time to share examples to let a developer know what you have in mind, sometimes it’s useful to share with them the whole page rather than just what’s on your screen. Since the previous methods fall short in this area, we need to use something different. Specifically, you’d need something like one of these apps:

Paparazzi!: this Mac app has been around for quite some time and it’s pretty easy to use. Just launch it, add the URL in the address bar and hit “Enter”. You can even set the width and height of your screenshot file.
2. Add short video recordings to show things “in action”
Images are a powerful way to communicate yet they aren’t always the best fit in many scenarios because you might need “something more”, like seeing one element in action. Recording short videos of websites, web pages and apps you’ve found could come in handy when, for example, you’re having tough times letting the developer understand what “magic” feature you’re talking about.
In many cases, a 5-second video will work great and let both of you move one with the work. To record what’s happening on your screen, here are some great apps you can use:
How to record your screen (apps for Mac, Windows, and Chrome)
Jing both for Mac and Windows, Jing records everything you see and provides you wit an .swf videos (5 minutes max).
For those who are looking for something that runs directly in their browser, I’d suggest two interesting Chrome extensions: SnagIt and Screencastify, where the former is a little better but has no options to select a custom area for recording.
How to record your mobile devices’ screen (on Mac and Windows)
Sometimes it’d be useful to have a recording of your mobile screen to share with your developer and make some vague concept such as “there’s something wrong” clearer.

How to record your iPhone’s screen
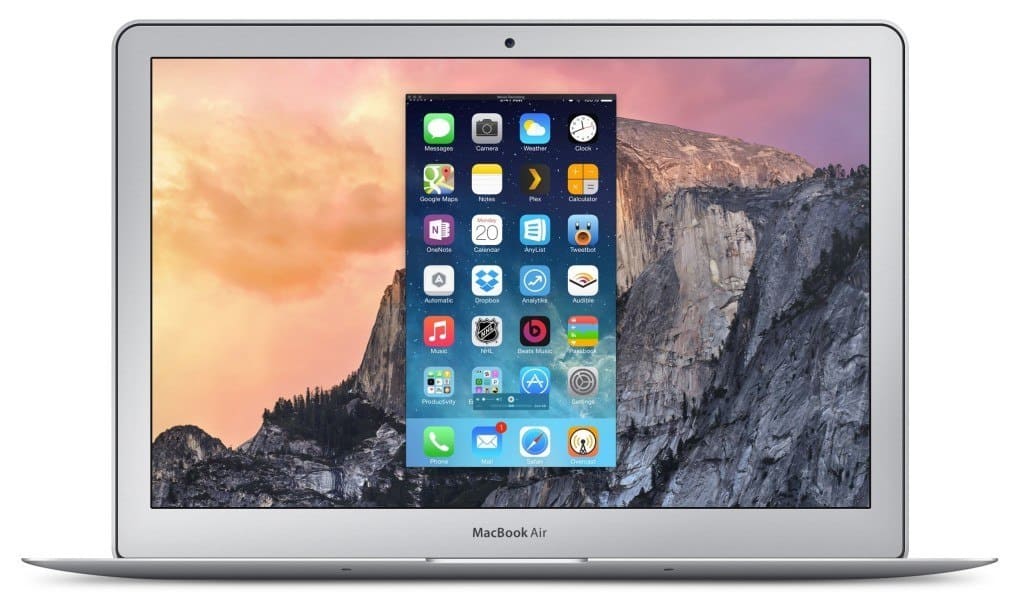
If you’re on Mac, you can use QuickTime player (version 10) as your recording software to grab your iPhone or iPad’s screen. To do that: launch QuickTime and then File > New Movie Recording > Click on the small downward-facing triangle next to the record button > Pick your desired device > Push the record button.
For Windows users I don’t know of any free and good app, so I’d suggest using something like X-Mirage ($16) or Reflector ($14.99) which will mirror the screen of your mobile devices onto your main screen and then record it with some of the aforementioned tools.
How to record your Android device’s screen
Android 4.4 added a screen-recording feature that you can easily use. If you’re a Mac user, you’ll need to install AndroidTool and enable the USB debugging option on your device. If you’re a Windows user, you still need to enable debugging mode but there are other steps you need to take.
3. Add notes and comments to your visual resources
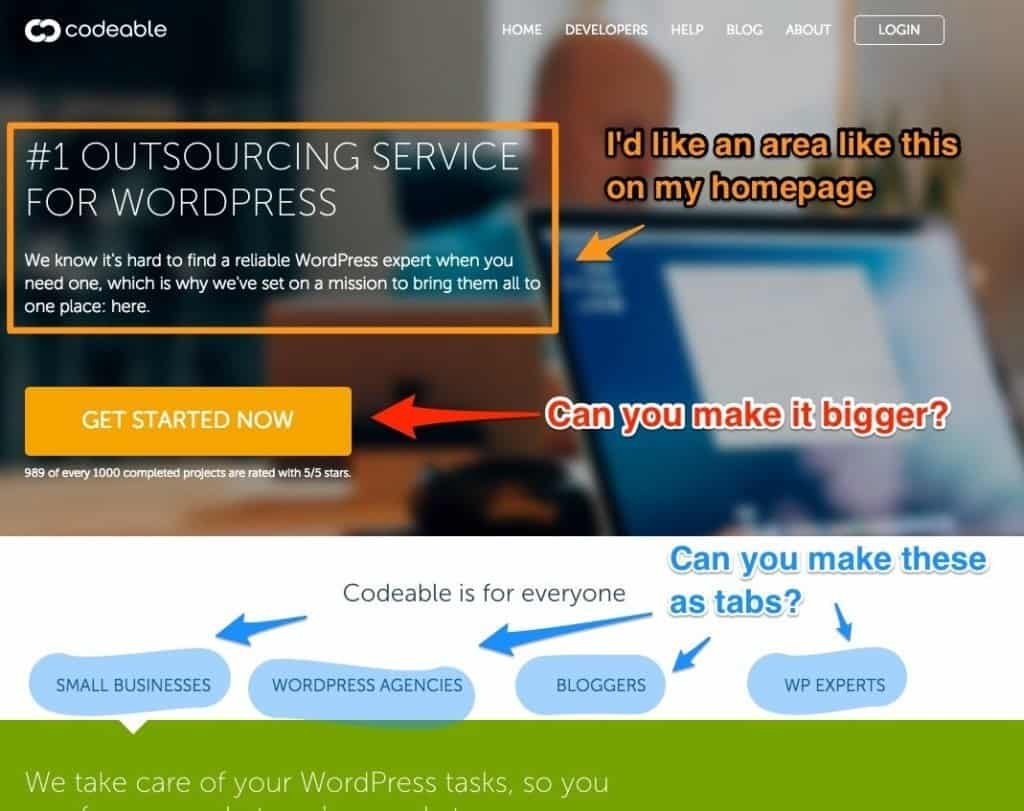
A picture (or a video) without any accompanying information is pretty useless, and it opens up the gate to hours of misunderstood messages. That’s why when you share screenshots you should always add specific comments and notes to lower the chance of them being confusing to the developer.
Some of the previous tools and apps have already integrated what we’re looking for, but there’s one app available for both Mac and Windows, that it’s one of the most used when talking about adding notes to images (and my favorite): it’s Skitch.

With this great app, you’ll be able to annotate, add text, numbers, arrows, shapes, blur some elements (and much more) to your screenshot, making it super informative to your developer. How can you do that? You either take the screenshot directly from the app or just open an image file in it and start adding all your information. When finished, drag your Skitch image on your desktop or in any folder you’d like to save it.
Wrapping up
There’s no better way to leave out misunderstandings and incomplete information in a project brief than to add visual aids with concrete examples. You already know the 6 key elements any project brief need to feature, now it’s time to move one step further and improve it with additional resources. Sentences you used to be told like “I thought you meant something like this…”, “it wasn’t clear in your request…”, “you should add more information here…” will soon be something from your past.
So post your project now and say out loud: “Goodbye misunderstandings, farewell vague requests, adieu wasted hours trying to make developers understand me… you’ll never be missed”.
 Dream It
