Whether you’re a new website owner, an established eCommerce merchant, or a WordPress.org veteran, there’s always room for improvement when it comes to enhancing the visitor experience.
This is where fine-tuning your website accessibility is worth its weight in gold.
For the uninitiated, WordPress accessibility refers to how easy it is for a wide variety of users to utilize your website. At its most basic, it covers the size of your fonts, the color contrast on your website pages, and easy navigation.
But if you’re not already, it’s time to ramp your website’s accessibility up a notch.
Does your website cater to the accessibility requirements of those living with impairments that make it trickier to navigate the web? For instance, website visitors living with blindness, mobility issues that make it hard (if not impossible) to use a keyboard, deafness, etc.
Ethically, not only is this the ‘right’ thing to do, but as a website owner, you don’t want to miss out on this valuable traffic. In the US alone, as many as one in four adults live with some form of disability – which equates to a whopping 61 million people.
Plus, more often than not, enhancing your website’s accessibility makes your site more useable in general. This, as we all know, goes a long way to improving the user experience and, in turn, your bottom line.
If that isn’t enough to pique your interest, SEO certainly is. Search engines like Google now rank websites boasting good accessibility higher. Consequently, you could lose out on that much-coveted first-page spot for failing to follow WordPress accessibility best practices.
For all these reasons, WordPress takes accessibility very seriously. They even conduct their own website accessibility tests and provide a handbook on the subject.
However, ensuring your WordPress website is 100% compliant quickly becomes time-consuming and complicated – especially if you’re unsure what you’re doing. So, in this article, we’re providing a few pointers on how to advance your WordPress accessibility to help you hit the ground running.
What is Accessibility?
As we’ve briefly mentioned, it is all about ensuring everyone can use your website. As such, accessibility isn’t only about enhancing the website experience for those living with disabilities but also improving the general user experience. If you’re looking to learn more about accessibility, you can find information by Joe Dolson, an expert in the field who promotes and advocates for inclusive design practices.
In summary, WordPress accessibility concerns itself with these three overarching categories:
- Multi-Device: Can users access the website using mobile devices and desktops? How about tablets and devices of varying screen sizes?
- Auditory/Visual/Motor/Cognitive Impairments: How easy is it for visitors with these kinds of impairments to use your site? Will they be able to find what they’re looking for? Can they access every piece of content? How long will it take to navigate their way around the site?
- Economical: Some of your visitors might be limited by slow internet or older hardware. Does your website rely on high-performing equipment for it to be accessible?
Is WordPress Accessible For Screen Readers?
Yes, WordPress core has several accessibility features built-in for screen readers, including the functionality of navigating the admin panel and content editor with keyboard shortcuts and the option to add alt text to images and media. Further accessibility will depend on the design and development of each site. To increase accessibility, website owners should use themes and plugins, follow best content creation practices, and conduct regular auditing.
So, let’s look into some ways to make your site more accessible.
How To Make Your Site More Accessible
To make the internet a more non-discriminatory place, the Guidelines of Accessible Web Design (WCAG) define the boxes your website needs to tick. This is a great starting point. However, if you still need a helping hand, you have two options:
- Use an accessibility plugin. This is great if you’re looking for a temporary quick fix to your site’s general accessibility while working on a longer-term accessibility strategy.
- Hire a professional. By hiring an accessibility expert, you’ll get the guidance and actionable strategy you need to ensure you’re 100% compliant. A pro should also implement these strategies on your behalf to guarantee the best possible results.
Here are some ways to get started with accessibility on your website.
1. Pick The Right CMS/ Website Builder With Accessible Themes
Choosing the right website platform is essential if you’re launching a brand-new site. Not every web builder provides the assistive technologies you need to improve your site’s accessibility.
WordPress is commendable in this context. For one, you can access the source code to change your site’s HTML and CSS markup. This enables you to enhance every aspect of your website’s accessibility. Also, using WordPress’s Gutenberg editor you can tweak shortcodes.
You can also use accessibility-ready WordPress themes and, as previously mentioned, download accessibility plugins to help lay the groundwork. In fact, the most updated WordPress themes come evaluated and vetted against WordPress Accessibility Coding Standards for WCAG AA compliance. Not to mention, there’s a thriving WordPress community where you can trade best practices with fellow WordPress users about WP accessibility.
It’s also a good idea to review WordPress’s accessibility handbook and its guidelines. This provides a useful checklist you can use as a guide as you embark on your website creation journey. You may also find the Web Accessibility Initiative – Accessible Rich Internet Applications (ARIA) and Web Content Accessibility Guidelines (WCAG) 2.0 useful as you go about refining your website’s accessibility.
2. Run WordPress Accessibility Audits
Suppose you already have a WordPress website up and running. In that case, it’s worth conducting an accessibility audit to see what needs fixing. By honing in on the problem areas from the get-go, you’ll save yourself loads of time.
To run a manual audit:
- Review the WCAG guidelines and make a checklist of all the areas that need covering.
- Assess each item to ensure everything’s as it should be.
- If it isn’t, note it and find out what needs to be done to rectify the accessibility problem.
Alternatively, you can use the following accessibility tools to assist with your audit:
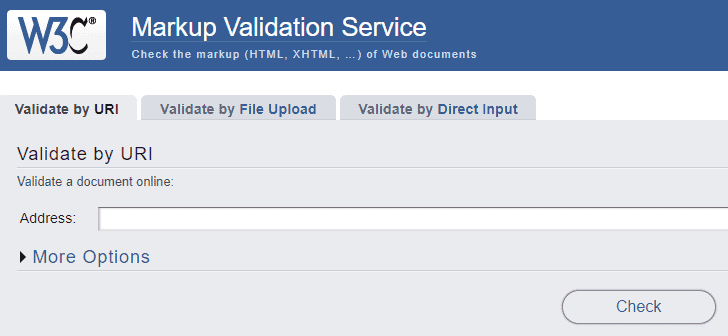
Run your site through the W3C markup validation tool. This checks the validity of your site’s documents and verifies whether they adhere to the guidelines for the language used.

- You can use Accessibility Viewer to conduct a screen reader compatibility test. This accessibility testing tool determines whether a screen reader can successfully scan and read your content so the visually impaired can fully access your website.
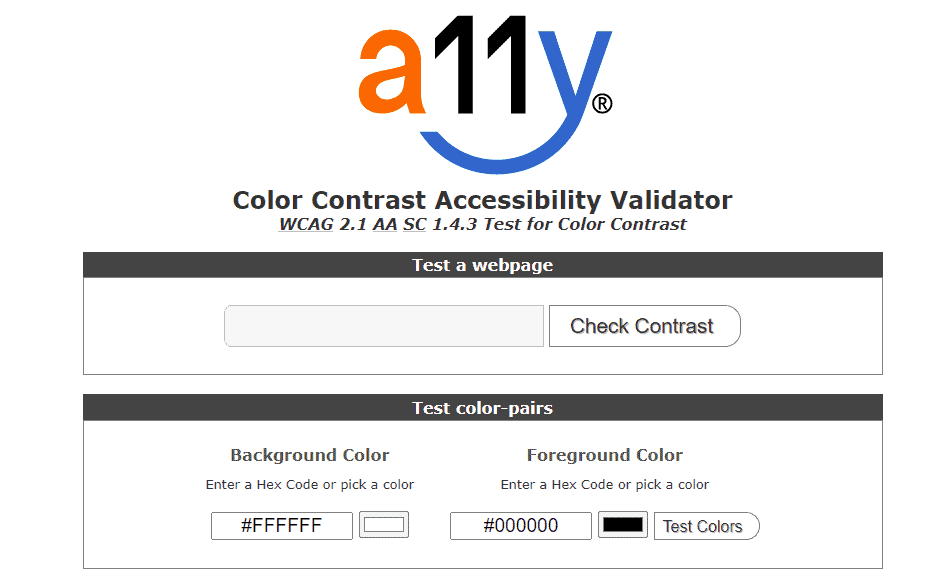
- Check your site’s color contrast. If the contrast between the text and background color is too low, it might be challenging to read. This would make your website less user-friendly for visually impaired and colorblind users. To assess your website’s color contrast, run it through a11y (color contrast accessibility validator) to see if any changes are necessary.

- Check that keyboard navigation works. Click on the address bar and use only the keyboard to navigate the entirety of your site. Using the Tab button, you should be able to access different parts of the menu, select links, and interact with all your site’s core functionality.
3. Use an Accessible WordPress Theme
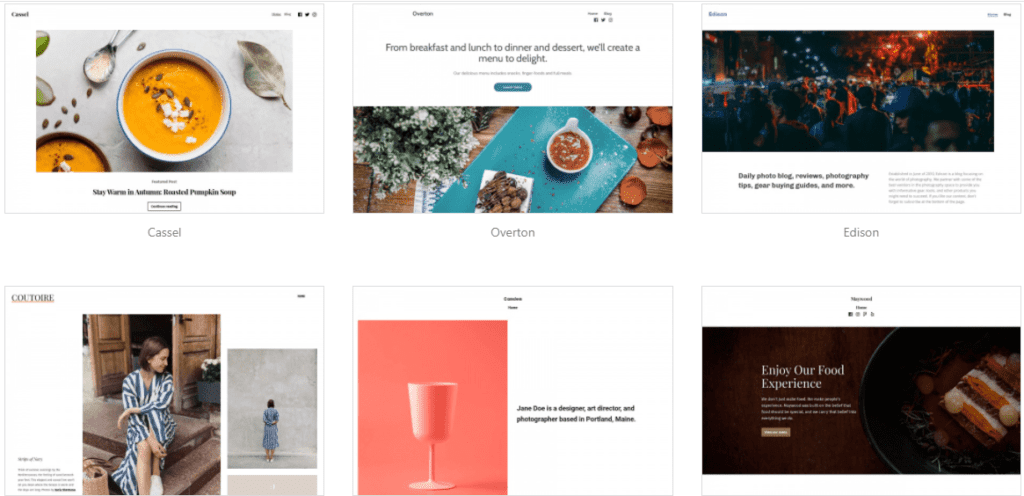
Optimizing your WordPress site’s accessibility is much easier when you start with an accessible template. There are 93 free accessibility-ready themes to choose from. However, unless stated otherwise, most templates don’t assure accessibility – so be sure to double-check for this. You’ll want to benefit from the accessibility features these ‘accessibility ready’ templates have to offer.

Improving WordPress Accessibility One Element at a Time
Once you’ve audited your WordPress site, you may have identified areas that need improvement. To help make the necessary corrections, you can do a few things to optimize specific elements for accessibility:
1. Adopt a Clear Layout
Ensuring clear web page layouts is a good usability practice for helping readers find what they’re looking for.
A straightforward website structure should:
- Make it obvious which paragraphs and headlines belong together.
- Organize website content into clear categories corresponding to your navigation bar item.
- Critical information should be accessible with a single click from your top navigation.
2. Include Readable Content
Your website’s readability is influenced by color, contrast, font size, spelling, and sentence structure.
To boost the readability of your web pages, do the following:
- Make sure the color contrast between your text and background is high.
- Choose a font that isn’t difficult to read. Swirly or elaborate handwritten fonts are often challenging to decipher. A basic sans-serif or serif font is your best friend when it comes to readability.
- Similarly, some people might struggle to read the text if it falls below a specific font size: the bigger, the more readable. So, try not to have any paragraph fall below 16px.
- When writing your website’s copy, keep it simple. The more straightforward your wording, the more accessible your website will be for a broader audience. Avoid jargon, technical, and scientific terms where possible.
- Double-check your written content for spelling and grammar
- Spell out acronyms for any visitor that might not know the term.
3. Ensure Your Website Navigation Menus Are Accessible and Responsive
Keep your website’s navigation simple. Users should be able to land on critical web pages (like your contact and about pages) with just a click or two.
Dropdown menus immediately complicate navigation because visitors can’t be sure they’ll find the info they’re looking for under the tab they click. So, stick to a simple header-style menu at the top of your homepage where possible.
Lastly, double-check your navigation is responsive so visitors can work their way through the entirety of your website, no matter their device.
4. Optimize Icons and Images with Alt Text, Captions, and/or Text Alternatives
For anyone using a screen reader, image alt tag descriptors are crucial for translating visual content into audio. This empowers visually impaired users to get the context they need to enjoy your site to the fullest. You can also use image captions and text alternatives (like voiceovers) to provide further description.
Top Tip: Avoid displaying important information in pictures. However, where that isn’t possible, say, in an infographic, make sure text is available to explain what’s going on.
5. Clearly Label Your Contact Forms
Labeling each contact form field makes it easier for users to fill in the correct information. To further enhance the accessibility of your contact forms, your text should be left-aligned and only use standard terminology.
These are called aria labels, HTML attributes that can be added to an element to provide an alternative label for screen readers and other assistive technologies. It is used to describe the purpose or function of an element, such as a button, link, or form field, that may not have a clear or visible label. The value of the attribute should be a concise and descriptive text that accurately describes the element’s purpose without repeating any text that is already visible on the page.
6. Ensure Anchor Texts Should Are Always Descriptive
Screen readers have an easier time identifying links and defining where they lead when the anchor text is descriptive. For example, the anchor text “Find out more about our services here” is more precise than hyperlinking the word “here.” Should a visually impaired user be searching for links within the text, the latter gives them next-to-no information about where the link takes them, whereas the former does.
7. Use Appropriate Colors
While color contrast is essential to consider, appropriate color usage is too. Avoid using too many contrasting colors. Bright, conflicting colors are noisy. At worst, they are overwhelming for some users, and at best, they’re uncomfortable to look at. Where possible, stick to a consistent color scheme consisting of neutral colors and lots of white space.
8. Add an WordPress Accessibility Statement to Your Site
To legally protect yourself against accessibility-related lawsuits, disclose whether any parts of your site aren’t accessible and outline any alternative, accessible content you’ve put in place. That way, users with significant impairments can decide for themselves whether to spend time on your website. You might also wish to provide your contact details here to encourage people to report accessibility issues.

9. Download Accessibility Plugins
Downloading accessibility WordPress plugins is a simple process that can greatly improve the user experience for those with disabilities. Plugins for accessibility are designed to add features and functionality that make websites more accessible, such as larger font sizes, keyboard shortcuts, and options for text-to-speech and color contrast adjustments.
To download accessibility plugins for WordPress, simply navigate to the plugin directory in the WordPress admin panel and search for “accessibility.” There are many free and paid options available, each with its own set of features and customization options. Once you find a plugin that meets your needs, simply click the “Install” button and activate the plugin to start improving the accessibility of your website.
Here are some popular WordPress accessibility plugins:
1. One-Click Accessibility
This is an easy-to-use plugin that can help make your website more inclusive and user-friendly for people with disabilities or impairments, adding an accessibility toolbar to resize the font, change contrast, and offering features to skip to content and more.
2. Accessibility Widget
The Accessibility widget has AI accessibility functionality to interpret and write accessible code. It also helps those with disabilities to manipulate the page and keyboard and approach navigation differently. Users can moderate spacing, pause animations, change the font to Dyslexia-friendly text, and more through the widget.
3. WP Accessibility
WP Accessibility has tens of thousands of active installations and helps users address accessibility issues with their websites. You don’t have to change your theme in order to use WP Accessibility since it adds a number of features with little set-up necessary. Despite being useful, it doesn’t guarantee any sort of accessibility guideline compliance, you’d have to ensure which guidelines you want to follow and set it up yourself. Main features include: adding an outline to the keyboard focus state for focusable elements, adding skip links, removing user-scalable=no to allow resizing, adding labels to standard form fields, and more.
4. WP ADA Compliance Check
The WP ADA Compliance check has over 4,000 active installations and claims to be the most comprehensive web accessibility solution for WordPress. It’s made to evaluate content when you publish or your site as a whole to identify issues and provide solutions. It works with any website editor, corrects most issues automatically, and more.
5. Equalize Digital Accessibility Checker
This plugin shows you notifications for accessibility errors right on the edit screen. You get a visual summary of how your content measures up to 40 different accessibility checks created to meet WCAG 2.1. With the notification, there’s a listing for the code and severity so you can prioritize solutions. Though the plugin guides you on how to fix the issues, you will have to do it yourself.
How an Expert Can Help Address Your Goals
A professional WordPress developer with experience in web accessibility can make this whole process a lot easier. Before agreeing to work with anyone, ensure they boast the following know-how:
- A firm understanding of how to undertake thorough WordPress accessibility audits.
- A solid grasp of accessibility rules and regulations (both nationally and internationally, for example, the Americans with Disabilities Act (ADA) ).
- The technical skills needed to implement any necessary changes to ensure compliance.
With a WordPress expert that satisfies the above criteria, you can rest easy knowing your WordPress accessibility is in safe hands.
Find The Right WordPress Accessibility Partner with Codeable
The accessibility of WordPress should be a core concern for all website owners. To recap, complying with accessibility guidelines helps guarantee:
- The production of non-discriminatory web content
- Adherence to regional and international accessibility laws
- An improvement to the general usability and look of your site
- Better SEO
- A wider reach
If you’re not ready to tackle a big project like fine-tuning the accessibility of your website alone, Codeable can connect you with vetted accessibility experts that specialize in WordPress development. So, what are you waiting for? Submit your project on Codeable today to get a free estimate from a selection of vetted freelancers or create your own accessibility team – the choice is yours!

 Dream It
