Are you wondering whether you should build a headless WooCommerce site? It’s possible to separate the backend and frontend of your WooCommerce site, rather than keeping them locked into the same CMS. This way, you can connect your WooCommerce backend to one or more custom frontends.
There are many reasons why eCommerce store owners opt to build headless WooCommerce sites. Some popular reasons include improving their site performance, increasing security, adding more customizability, and getting a shop that can scale with the business.
This article will explain a headless WooCommerce site, its main benefits, and ways to build one.
What is a Headless WooCommerce Site?
A headless website is one in which the user interface (or the frontend, what users see when they visit your website) is separate from the database (or the backend, the place where you manage your pages and products).

A headless site would allow you to use a custom UI (one that is built using React or any other frontend technologies you prefer) and connect it to your WooCommerce database. Separating your WooCommerce backend and frontend might have many benefits, such as:
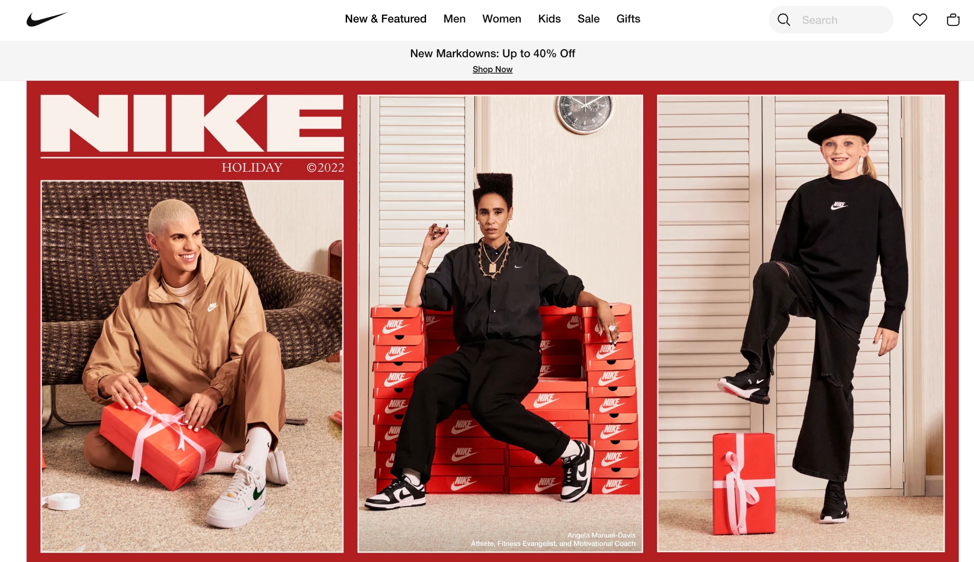
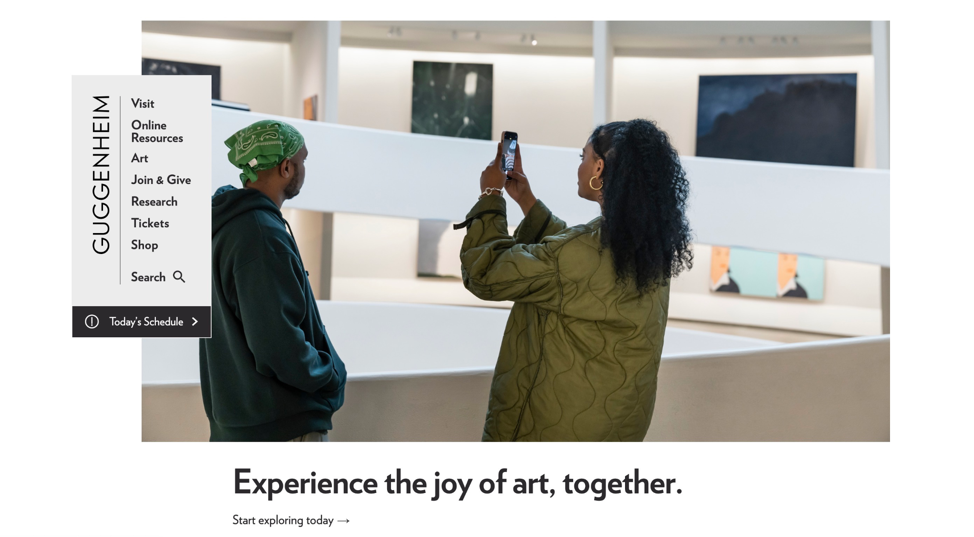
- Complete frontend control: A headless WooCommerce setup allows you to keep your entire backend (product catalog, inventory, shopping cart, payment gateways, etc.) while deploying this data on any frontend. This gives you total control over your site’s appearance and performance. Many popular sites do this. For example, Amazon has an online store and a dedicated mobile app. Both these channels display the same information; in this case, products available from a database.
- Improved performance: Standard WooCommerce sites rely on prebuilt themes, plugins, and extensions, which can slow down load times. With a custom frontend, you reduce the need for multiple plugins, enhancing site speed and performance.
- Greater customizability: Standard WooCommerce can be challenging to customize due to reliance on various plugins and themes. A headless approach allows for more flexible design features tailored to your business needs and better customization while avoiding unnecessary resource loading.
- Unified backend for multiple channels: Headless WooCommerce enables connecting a single backend to multiple frontends. This is useful for running multiple eCommerce stores or connecting your backend to mobile or smartwatch apps, providing consistent platform functionality.
- Enhanced security: Separating the frontend from the backend makes it harder for attackers to breach your site, as the admin panel is more difficult to locate.

If you think you can benefit from it, keep reading to learn about the different ways of creating a headless WooCommerce site. Building a headless WooCommerce site involves separating the frontend from the backend and allowing them to communicate via an API. Then, you need to fetch data from the WooCommerce backend and display it in your UI components.
You can do this using REST API and Next.js or GraphQL.
How to Create a Headless WooCommerce Site using the REST API and Next.js
One way to create a headless CMS (or Content Management System) site (for instance, one build on WooCommerce) is by using the WooCommerce REST API or WordPress REST API. APIs are tools that assist applications in exchanging data; in this case, making your WooCommerce database endlessly reusable and allowing you to connect your store backend with a customized frontend.
WooCommerce provides a robust REST API that allows you to send information to and from the backend, allowing you to decouple it from the frontend to create a headless digital store. Here’s how you can create a headless WooCommerce site using the REST API:
Step 1: Set up WooCommerce and generate API keys:
- Install and configure WooCommerce on your WordPress site. Make sure permalinks are set to something other than “Plain”.
- Go to WooCommerce > Settings > Advanced > REST API. Click “Add key” and give it a description. Select the user and choose “Read/Write” access. Click “Generate API Key” to create the consumer key and consumer secret.
Step 2: Create the frontend:
- Using Next.js, create a new project using the following command:
npx create-next-app@latest woocommerce-frontend- Install Axios for making API requests:
npm install axios- Create components for products, cart, checkout, etc. Use React hooks like useState and useEffect to work with them.
Step 3: Make API requests:
- Use the WooCommerce REST API endpoints to fetch data. For example, to get a list of products:
    import axios from 'axios';

const WooCommerce = axios.create({
  baseURL: 'https://example.com/wp-json/wc/v3',
  auth: {
    username: 'consumer_key',
    password: 'consumer_secret'
  }
});

// Fetch products
WooCommerce.get('/products')
  .then(response => {
    console.log(response.data);
  })
  .catch(error => {
    console.log(error);
});- Display the retrieved data in the respective React components. Use the map function to render lists.
Step 4: User authentication and session management
- Implement user registration and login using the WooCommerce REST API’s authentication endpoints.
- Store user tokens securely on the frontend, such as in localStorage or cookies.
- Include the user token in the headers of authenticated requests:
WooCommerce.get('/orders', {
  headers: {
    'Authorization': `Bearer ${userToken}`
  }
})- Implement logout functionality by removing the stored token.
💡 These REST API implementations require solid technical knowledge to execute properly. If you’re not comfortable handling API development and authentication yourself, hiring an experienced API developer can ensure your headless setup works flawlessly.
How to Create a Headless WooCommerce Site using GraphQL
GraphQL provides a more flexible approach to working with APIs. WordPress currently doesn’t support it natively, but you can use the WPGraphQL plugin and its WooGraphQL extension to decouple the frontend from the backend. Follow these steps to create a headless WooCommerce site using GraphQL:
Step 1: Install necessary tools
Install and activate the WPGraphQL and WooGraphQL plugins on your WordPress site with WooCommerce.
Step 2: Configure plugins
Configure the WooGraphQL settings under GraphQL > Settings in the WordPress admin:
- Enable “Public Introspection” for development
- Check “Cart URL”, “Checkout URL”, and “Account URL” under “Enable User Session transferring URLs”
Step 3: Set up the frontend
Set up your frontend project using a framework like React, Vue, or Angular. Install a GraphQL client like Apollo for the frontend to communicate with the backend.
Step 4: Query the API
Query WooCommerce data using GraphQL. For example, run the following query to retrieve the details of the first 10 products:
query {

  products(first: 10) {

    nodes {

      id

      name

      price

      description

    }

  }

}
Step 5: Customize your request
- To add items to cart, update quantities, and checkout, use GraphQL mutations like ‘addToCart’, ‘updateItemQuantities’, and the ‘checkout’ mutation.
- For authenticated requests, include the user’s JWT token in the request headers:
const client = new ApolloClient({

  uri: 'https://example.com/graphql',

  request: operation => {

    operation.setContext({

      headers: {

        authorization: `Bearer ${token}`

      }

    });

  }
Build a Headless WooCommerce Site with Codeable
If you think a headless WooCommerce site is an excellent idea for your shop but are unsure you can make it happen yourself, you should consider using a freelancer platform such as Codeable.
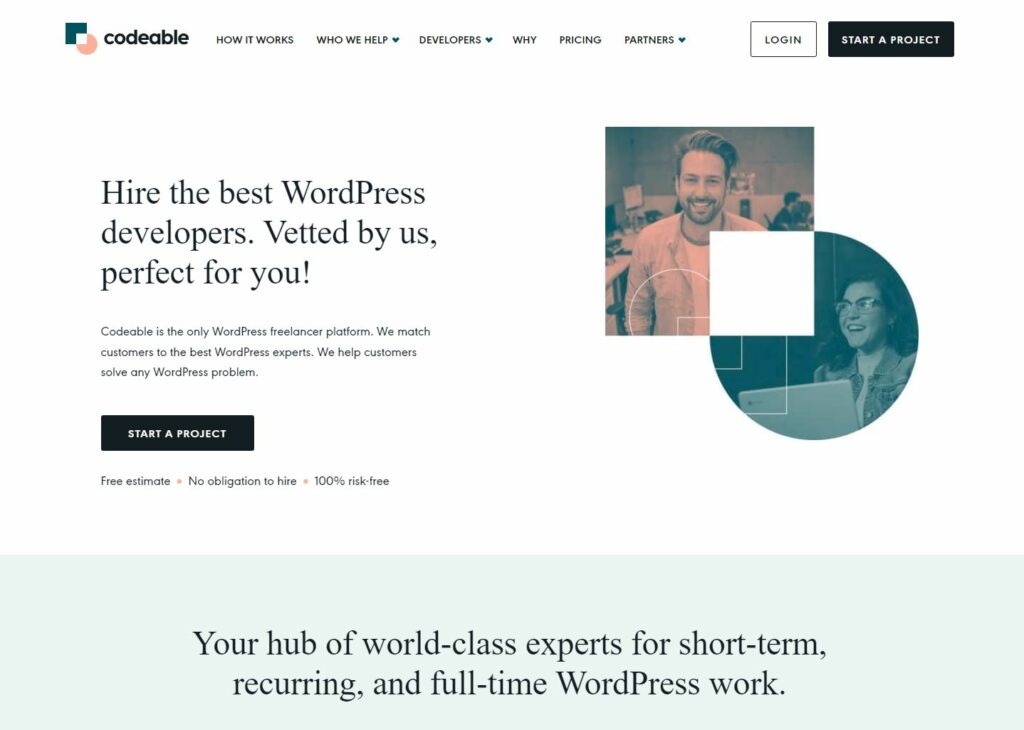
Codeable is a WordPress developer hiring platform with a pool of over 700 coders who specialize in different areas of the popular CMS and WooCommerce. They’ll create a tailored UI and seamlessly connect it to your WooCommerce backend, ensuring a smooth and powerful e-commerce solution.

The process is simple and streamlined:
- Submit your project brief
- Within hours, receive interest from 1-5 qualified professionals
- Chat with developers to assess fit and review their previous work
- Choose your ideal match based on expertise, not price
Codeable’s unique single-estimate model allows you to focus on finding the best talent for your project without worrying about price comparisons. This efficient approach means your entire project can be scoped within 24 hours, getting you on the fast track to a cutting-edge headless WooCommerce site. Ready to revolutionize your online store? Submit your project to Codeable now and unlock the full potential of headless WooCommerce without worrying about details!

 Dream It
